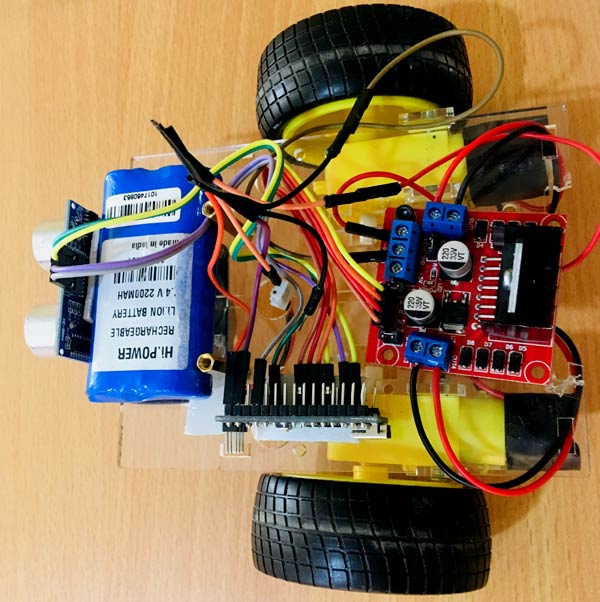
The **Obstacle Avoiding Robot** is an exciting beginner-level robotics project that demonstrates autonomous navigation. This robot uses an **ultrasonic sensor (HC-SR04)** to detect objects in its path and an **Arduino Uno** to process the sensor data, commanding its **DC motors** to change direction and avoid collisions. It's a fantastic introduction to sensors, motor control, and basic robotics programming.
Components Used:
- Arduino Uno microcontroller board
- HC-SR04 Ultrasonic Sensor
- **L298N Motor Driver Module**
- **2 x DC Motors**
- Robot Chassis / Wheels
- Breadboard
- Jumper Wires
- 9V Battery or Power Bank (for motor power)
How it Works:
The HC-SR04 ultrasonic sensor constantly emits ultrasonic sound waves and measures the time it takes for the echo to return. The Arduino uses this time to calculate the distance to any object in front of the robot. If an obstacle is detected within a predefined range (e.g., 20 cm), the Arduino stops the robot, looks left and right to find a clear path, and then moves in the direction with the greatest distance.
Circuit Connections:
 Simplified circuit diagram for the Obstacle Avoiding Robot.
- HC-SR04: `VCC` to Arduino 5V, `GND` to Arduino GND, `Trig` to Arduino Digital Pin X, `Echo` to Arduino Digital Pin Y.
- L298N: Connect `ENA/ENB` to Arduino PWM pins for speed control, `IN1/IN2/IN3/IN4` to Arduino Digital Pins for direction control. `OUT1/OUT2` connect to Motor 1, `OUT3/OUT4` connect to Motor 2. Provide external power to the L298N.
Arduino Code Snippet (Core Logic):
#define trigPin 9
#define echoPin 8
#define motorPin1_L 2 // Left Motor IN1
#define motorPin2_L 3 // Left Motor IN2
#define motorPin1_R 4 // Right Motor IN1
#define motorPin2_R 5 // Right Motor IN2
#define enableL 6 // Left Motor Enable (PWM)
#define enableR 7 // Right Motor Enable (PWM)

long duration;
int distance;

void setup() {
  pinMode(trigPin, OUTPUT);
  pinMode(echoPin, INPUT);
  pinMode(motorPin1_L, OUTPUT);
  pinMode(motorPin2_L, OUTPUT);
  pinMode(motorPin1_R, OUTPUT);
  pinMode(motorPin2_R, OUTPUT);
  pinMode(enableL, OUTPUT);
  pinMode(enableR, OUTPUT);
  Serial.begin(9600);
  // Set initial speed
  analogWrite(enableL, 150); // Adjust speed (0-255)
  analogWrite(enableR, 150);
}

void loop() {
  distance = calculateDistance();

  if (distance <= 20) { // If obstacle is within 20cm
    stopRobot();
    delay(500);
    turnRight(); // Try turning right
    delay(700); // Turn for a short duration
    distance = calculateDistance();
    if (distance <= 20) { // Still an obstacle, try turning left
      stopRobot();
      delay(500);
      turnLeft();
      delay(1400); // Turn longer to try another direction
      distance = calculateDistance();
      if (distance <= 20) { // Still no clear path, turn around
        stopRobot();
        delay(500);
        turnAround();
        delay(1000);
      }
    }
  }
  moveForward(); // Keep moving forward if no obstacle
}

// Function to calculate distance
int calculateDistance() {
  // ... (Full function sends pulse and reads echo, returns distance in cm)
  digitalWrite(trigPin, LOW);
  delayMicroseconds(2);
  digitalWrite(trigPin, HIGH);
  delayMicroseconds(10);
  digitalWrite(trigPin, LOW);
  duration = pulseIn(echoPin, HIGH);
  distance = duration * 0.034 / 2;
  return distance;
}

// Motor control functions (moveForward, stopRobot, turnLeft, turnRight, turnAround)
void moveForward() {
  digitalWrite(motorPin1_L, HIGH); digitalWrite(motorPin2_L, LOW);
  digitalWrite(motorPin1_R, HIGH); digitalWrite(motorPin2_R, LOW);
}
void stopRobot() {
  digitalWrite(motorPin1_L, LOW); digitalWrite(motorPin2_L, LOW);
  digitalWrite(motorPin1_R, LOW); digitalWrite(motorPin2_R, LOW);
}
void turnRight() {
  digitalWrite(motorPin1_L, HIGH); digitalWrite(motorPin2_L, LOW);
  digitalWrite(motorPin1_R, LOW); digitalWrite(motorPin2_R, HIGH); // Right motor backward
}
void turnLeft() {
  digitalWrite(motorPin1_L, LOW); digitalWrite(motorPin2_L, HIGH); // Left motor backward
  digitalWrite(motorPin1_R, HIGH); digitalWrite(motorPin2_R, LOW);
}
void turnAround() {
  digitalWrite(motorPin1_L, HIGH); digitalWrite(motorPin2_L, LOW);
  digitalWrite(motorPin1_R, LOW); digitalWrite(motorPin2_R, HIGH);
}
Simplified Arduino code for obstacle avoidance logic.
Applications:
This project lays the groundwork for more advanced autonomous robots, robotic vacuum cleaners, and automated guided vehicles (AGVs) in industrial settings.
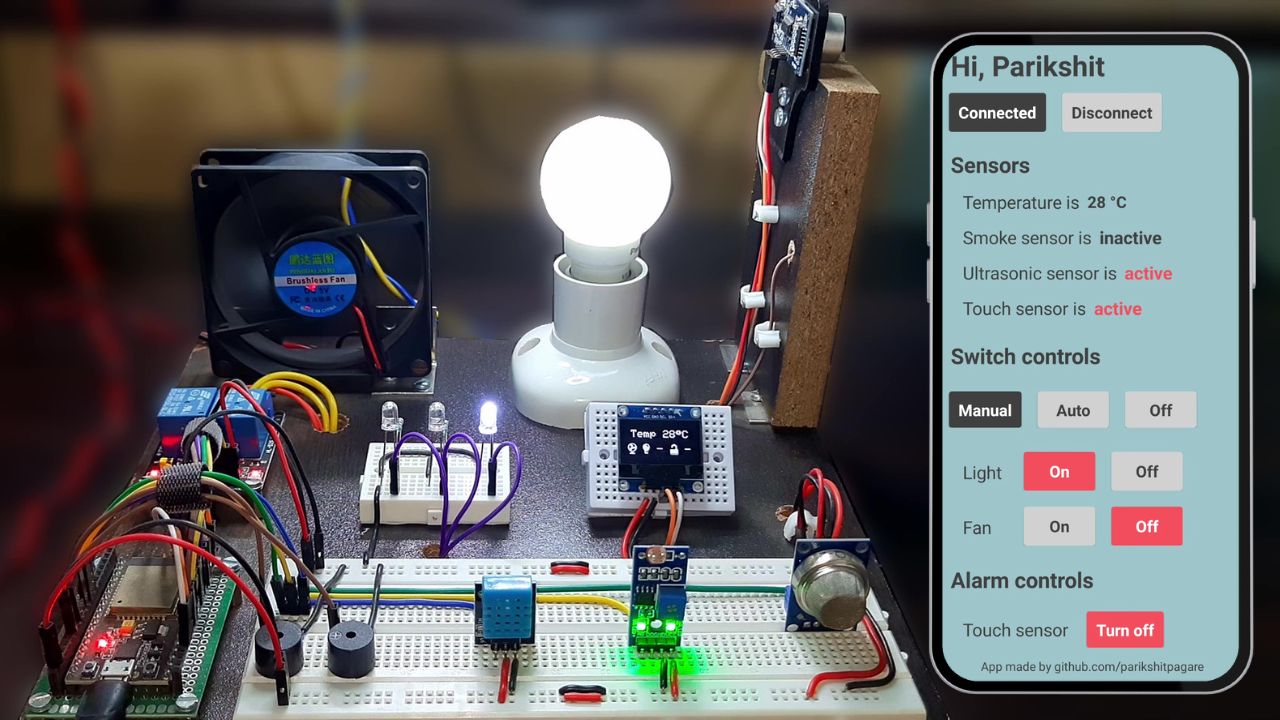

 Simplified circuit diagram for Home Automation with Arduino and Bluetooth.
 Simplified circuit diagram for Arduino Weather Station with DHT11, BMP180, and I2C LCD.
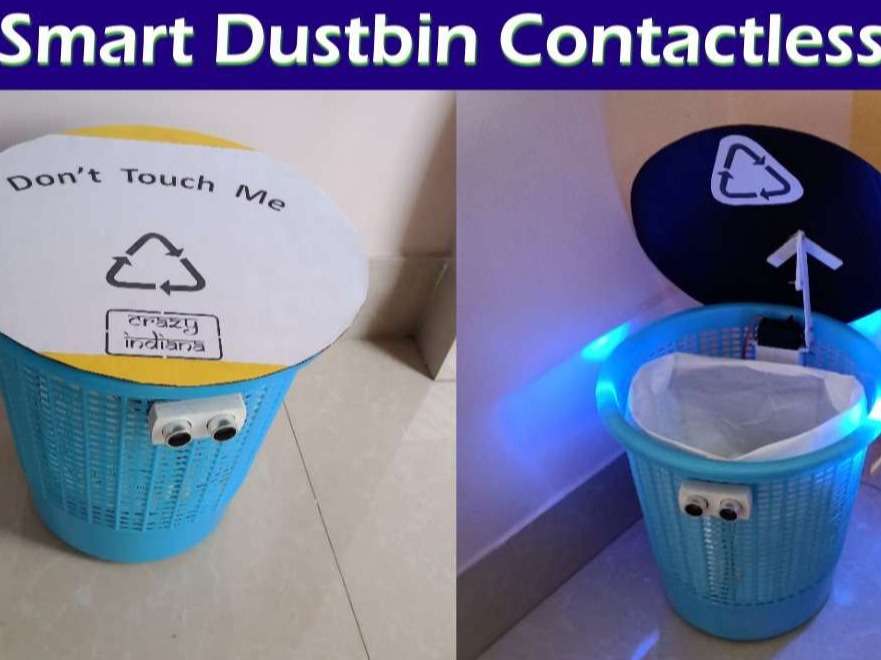
 Simplified circuit diagram for Smart Dustbin with Arduino, Ultrasonic Sensor, and Servo.