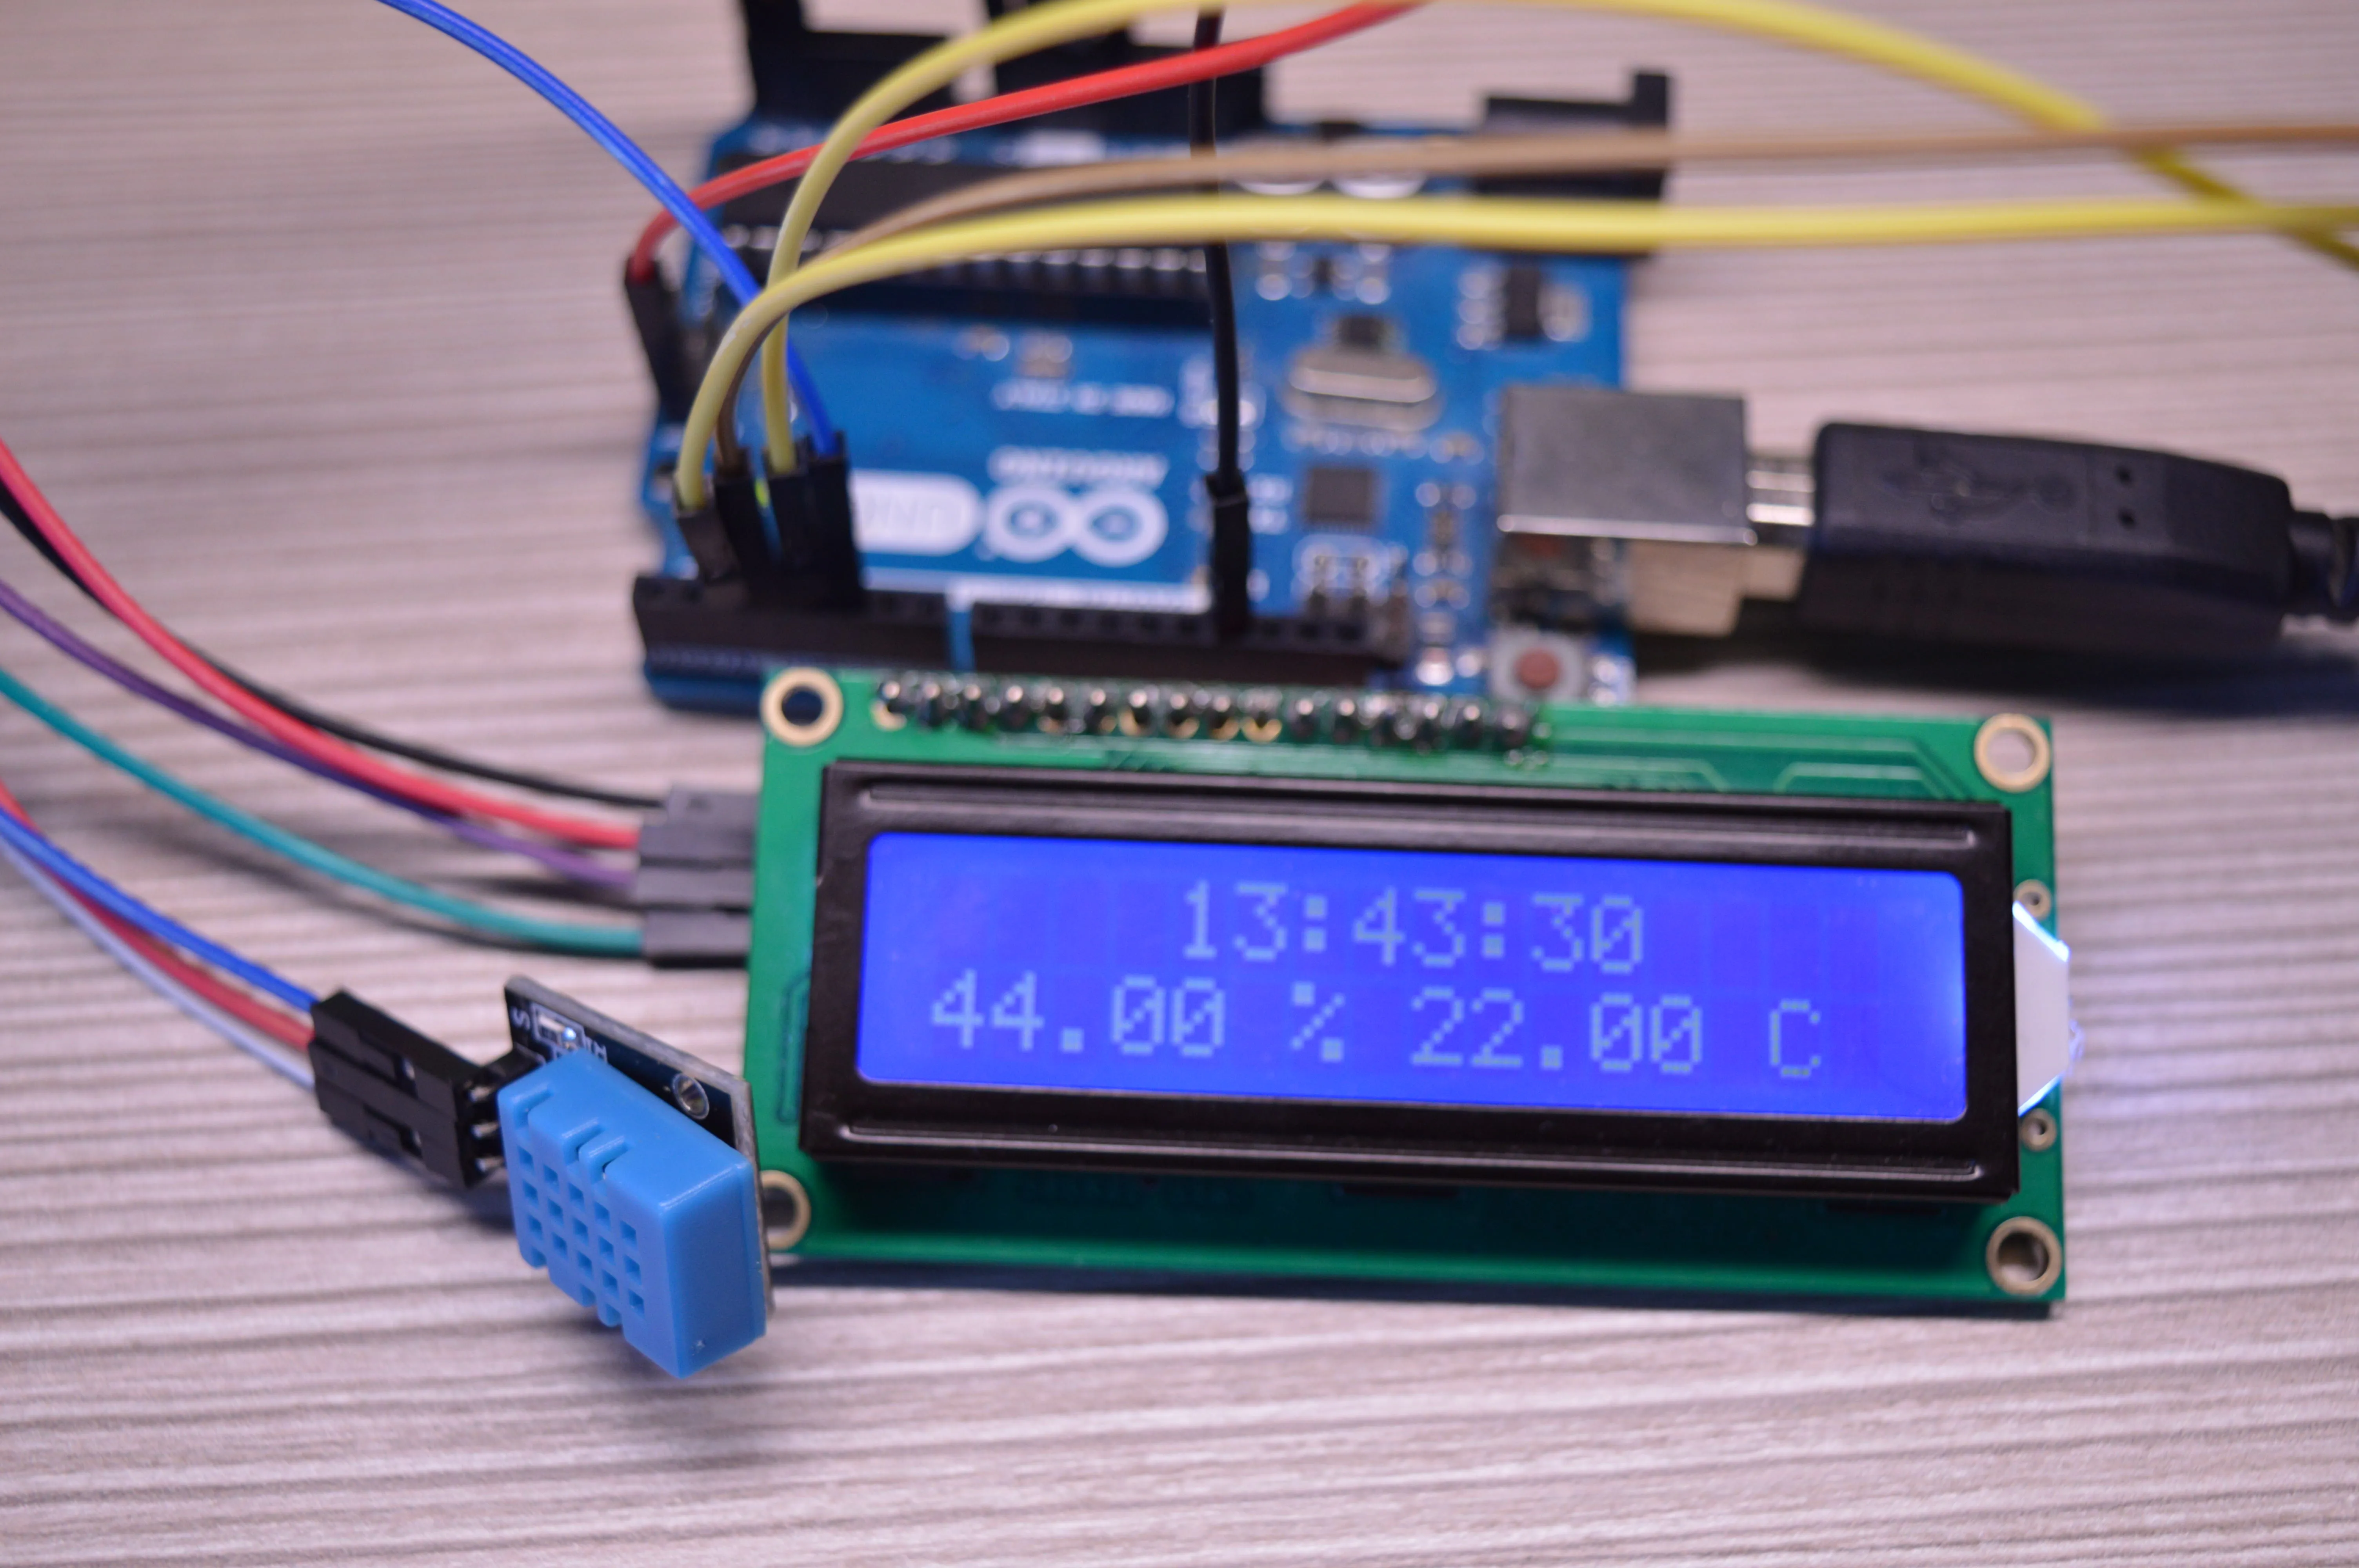
Build your own compact Weather Station using Arduino! This project allows you to monitor real-time environmental data such as temperature, humidity, and atmospheric pressure. The readings are displayed on a 16x2 LCD for easy viewing, making it a great educational project for understanding sensor data acquisition and display.
Components Used:
- Arduino Uno microcontroller board
- DHT11 or DHT22 Temperature and Humidity Sensor
- BMP180 Barometric Pressure Sensor (can also measure temperature and altitude)
- 16x2 LCD Display with I2C module (highly recommended for simpler wiring)
- Breadboard
- Jumper Wires
- Power supply for Arduino
How it Works:
The Arduino communicates with the DHT11/DHT22 sensor to get temperature and humidity readings. Simultaneously, it interfaces with the BMP180 sensor via the I2C protocol to obtain atmospheric pressure and another temperature reading. All this collected data is then formatted and displayed on the 16x2 LCD screen, updating periodically.
Circuit Connections:
- DHT11/DHT22: `VCC` to Arduino 5V, `GND` to Arduino GND, `Data` pin to Arduino Digital Pin (e.g., 7).
- BMP180: This is an I2C device. `VCC` to Arduino 5V, `GND` to Arduino GND, `SDA` to Arduino A4, `SCL` to Arduino A5.
- 16x2 LCD with I2C: `VCC` to Arduino 5V, `GND` to Arduino GND, `SDA` to Arduino A4, `SCL` to Arduino A5. (Notice both I2C devices share A4/A5).
Arduino Code Snippet (Core Logic):
#include <Wire.h>
#include <Adafruit_Sensor.h> // Required for DHT sensor library
#include <DHT.h>             // DHT sensor library
#include <Adafruit_BMP085.h> // BMP180/BMP085 sensor library
#include <LiquidCrystal_I2C.h> // I2C LCD library

// Define DHT sensor type and pin
#define DHTPIN 7
#define DHTTYPE DHT11 // Or DHT22
DHT dht(DHTPIN, DHTTYPE);

// Initialize BMP sensor
Adafruit_BMP085 bmp;

// Initialize LCD with I2C address and dimensions
LiquidCrystal_I2C lcd(0x27, 16, 2); // Adjust address if needed (0x3F or 0x27)

void setup() {
  Serial.begin(9600);
  lcd.init();
  lcd.backlight();
  dht.begin();

  if (!bmp.begin()) {
    Serial.println("Could not find a valid BMP085 sensor, check wiring!");
    while(1);
  }
  Serial.println("BMP085 sensor found!");
  lcd.print("Weather Station");
  lcd.setCursor(0,1);
  lcd.print("Initializing...");
  delay(2000);
}

void loop() {
  float h = dht.readHumidity();
  float t_dht = dht.readTemperature(); // Temperature from DHT

  if (isnan(h) || isnan(t_dht)) {
    Serial.println("Failed to read from DHT sensor!");
    return;
  }

  // Get temperature and pressure from BMP180
  float t_bmp = bmp.readTemperature(); // Temperature from BMP180
  float p = bmp.readPressure();

  lcd.clear();
  lcd.setCursor(0,0);
  lcd.print("Temp: ");
  lcd.print(t_dht); // Or t_bmp, depends on preference
  lcd.print((char)223); // Degree symbol
  lcd.print("C Hum:");
  lcd.print(h);
  lcd.print("%");

  lcd.setCursor(0,1);
  lcd.print("Pressure:");
  lcd.print(p / 100.0F); // Convert Pa to hPa/mbar
  lcd.print("hPa");

  delay(5000); // Update every 5 seconds
}
Applications:
This project is a perfect foundation for home environmental monitoring, smart garden systems, or even building a small personal weather station that logs data to a computer or cloud platform (with additional modules like ESP8266 for Wi-Fi).