Have you ever wanted to turn on a lamp, a fan, or even your coffee machine using an Arduino? The Arduino operates at 5 volts, but your home appliances run on 110V or 220V AC. That's where the Relay Module comes in—it acts as a bridge, allowing low-voltage electronics to control high-voltage devices.
Safety Warning
This project involves working with mains electricity (110V/220V), which can be dangerous or fatal. If you are a beginner, do not connect the relay to actual AC power yet. Practice with a 9V battery and an LED first.
How a Relay Works
Think of a relay as an electrically operated switch. Instead of flipping it with your finger, you flip it with an electrical signal from the Arduino. Inside, there's an electromagnet that pulls a metal contact to close or open the circuit.
Key Concepts:
- COM (Common): The middle pin where you connect mains power.
- NO (Normally Open): The circuit is broken (OFF) by default. It connects when the relay is active. (Use this for most projects).
- NC (Normally Closed): The circuit is connected (ON) by default. It disconnects when the relay is active.
What You'll Need:
- Arduino Board (Uno/Nano)
- 5V Relay Module (1-channel or 2-channel)
- Jumper Wires
- A simple DC load (like a small motor or 12V LED strip) for testing safe usage.
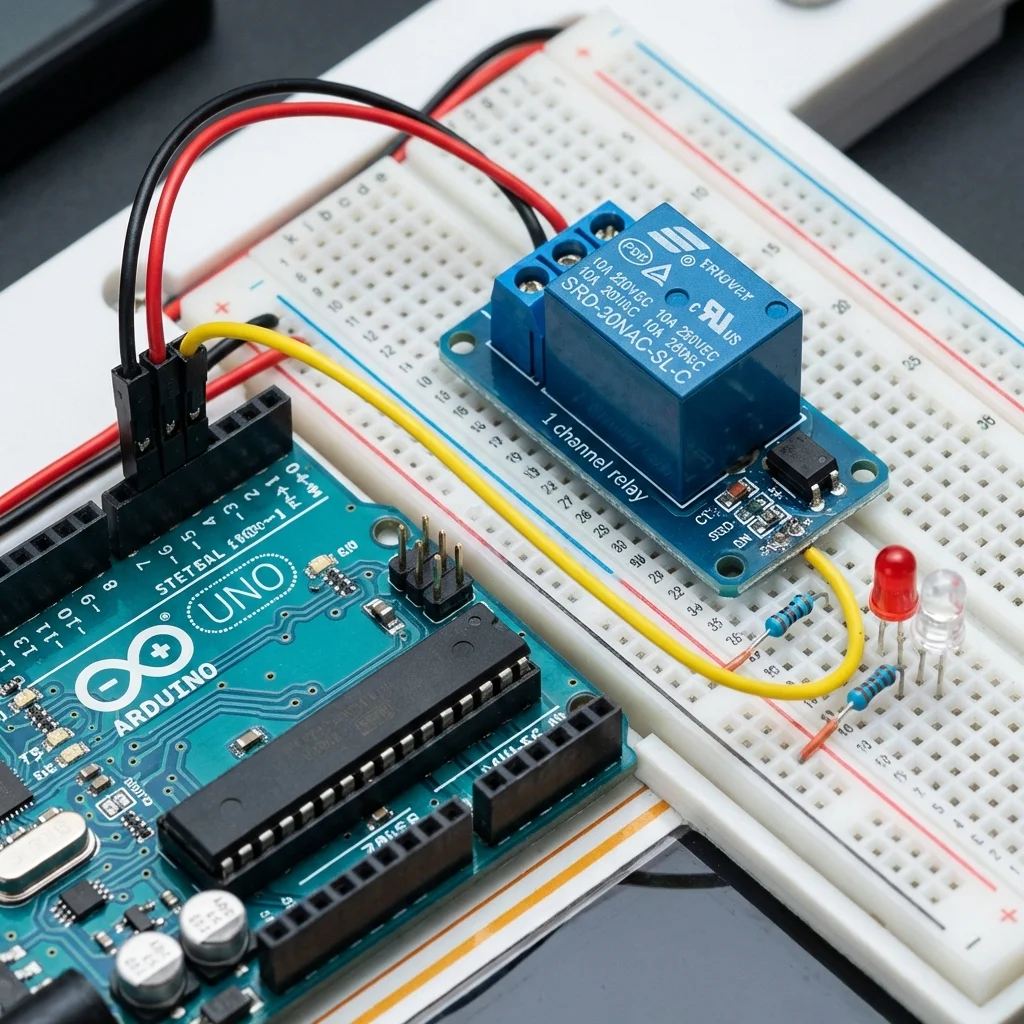
Circuit Diagram
Connecting the relay module to the Arduino is simple:
- Relay VCC -> Arduino 5V
- Relay GND -> Arduino GND
- Relay IN -> Arduino Digital Pin 7
Arduino Code
The code helps us toggle the relay on and off every 3 seconds, simulating a smart switch.
const int relayPin = 7;

void setup() {
  // Set relay pin as output
  pinMode(relayPin, OUTPUT);
  Serial.begin(9600);
}

void loop() {
  // Turn Relay ON (Close the switch)
  // Note: Some relays are "Active LOW", meaning LOW turns them ON.
  // If yours is Active HIGH, swtich HIGH/LOW.
  digitalWrite(relayPin, LOW);
  Serial.println("Relay ON - Device Active");
  delay(3000);

  // Turn Relay OFF (Open the switch)
  digitalWrite(relayPin, HIGH);
  Serial.println("Relay OFF - Device Stopped");
  delay(3000);
}
Application Ideas
Once you master this, you can combine it with other sensors or modules:
- Clap Switch: Use a sound sensor to toggle the light when you clap.
- Motion Light: Use a PIR sensor to turn on lights when you enter a room.
- Wi-Fi Switch: Use an ESP8266 (NodeMCU) instead of Arduino to control it from your phone!