The Raspberry Pi is a tiny, affordable single-board computer that you can use for everything from learning programming to building complex automation projects, or even creating a fully functional desktop PC. Let's get yours set up!
What You'll Need:
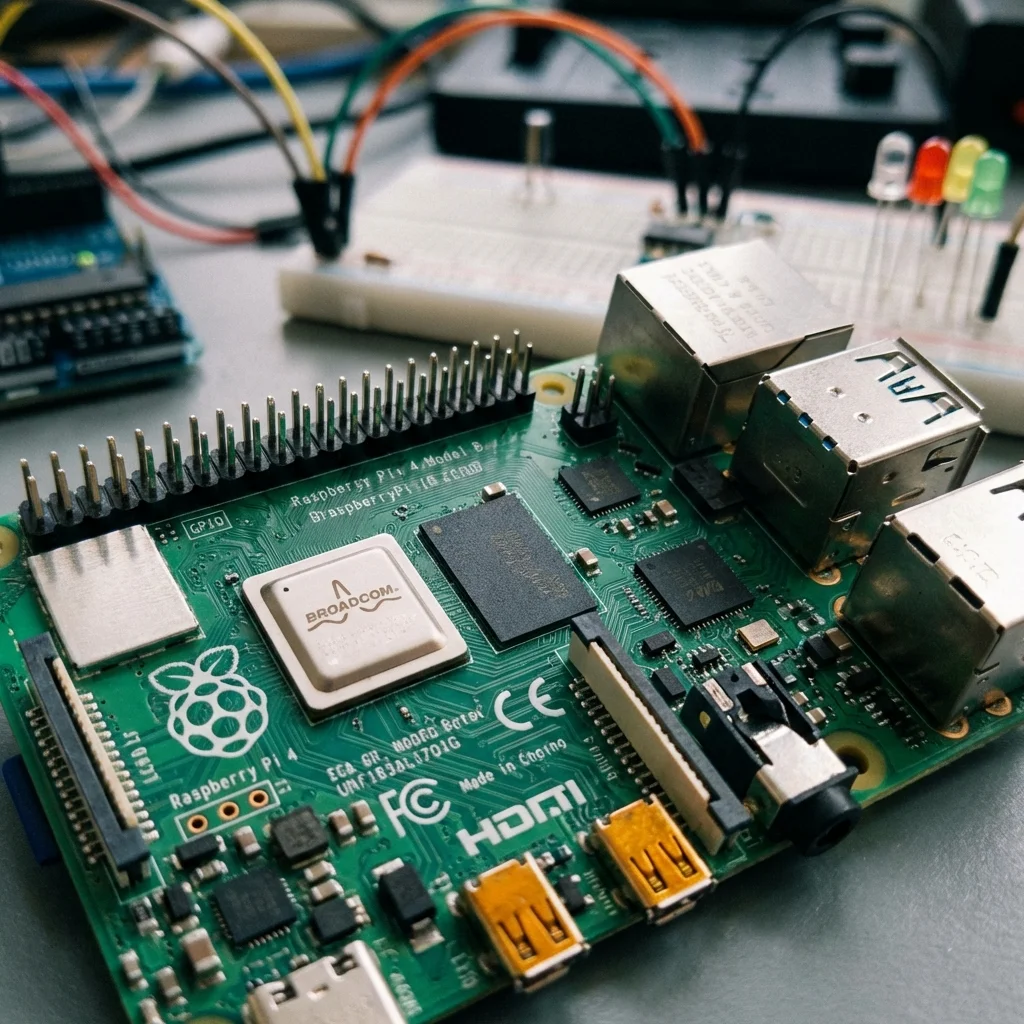
- Raspberry Pi Board (e.g., Pi 4, Pi 5, Pi Zero W)
- SD card (16GB or larger, Class 10/U1 recommended for speed)
- Power supply appropriate for your Pi model (USB-C for newer Pis, micro USB for older)
- Monitor with HDMI input
- HDMI cable (mini-HDMI or micro-HDMI to standard HDMI, depending on Pi model)
- USB Keyboard and Mouse
- Computer with an SD card reader (or a USB SD card adapter)
- Ethernet cable or Wi-Fi (most modern Pis have built-in Wi-Fi)
Step 1: Install Raspberry Pi OS
Raspberry Pi OS (formerly Raspbian) is the official operating system for the Raspberry Pi.
- Download Raspberry Pi Imager from the official Raspberry Pi website (raspberrypi.com/software/). This tool makes flashing the OS easy.
- Insert your SD card into your computer's SD card reader.
- Open Raspberry Pi Imager.
- Click "Choose Device" and select your Raspberry Pi model.
- Click "Choose OS" and select "Raspberry Pi OS (64-bit)" (or "Raspberry Pi OS Lite" if you prefer a headless setup without a desktop environment).
- Click "Choose Storage" and select your SD card. Be careful to select the correct drive!
- (Optional but Recommended) Click the gear icon to set up SSH, Wi-Fi, and locale settings before writing. This is very useful for headless setups.
- Click "Write" and confirm. The Imager will download the OS, write it to the SD card, and verify it. This process can take a while.
Step 2: Initial Boot and Basic Setup
- Once the Imager finishes, safely eject the SD card from your computer and insert it into the SD card slot on your Raspberry Pi.
- Connect your monitor, keyboard, and mouse to the Raspberry Pi.
- Finally, connect the power supply. The Pi should automatically boot up.
- The first boot will usually launch a setup wizard. Follow the on-screen prompts to:
- Set your country, language, and time zone.
- Change the default password (highly recommended for security).
- Connect to your Wi-Fi network.
- Update the software (this might take some time).
Step 3: Update and Explore the Terminal
Even if you did updates during the setup, it's good practice to update regularly. Open a
terminal (usually by clicking the black icon on the taskbar or pressing
Ctrl+Alt+T) and
run:
sudo apt update         # Fetches the latest list of available packages
sudo apt full-upgrade   # Installs available updates for all packages
sudo reboot             # Reboots your Raspberry Pi after updates
The terminal is a powerful tool for controlling your Pi. Here are some basic commands:
ls: List files and directories in the current location.cd [directory_name]: Change directory (e.g.,cd Desktop).pwd: Print working directory (shows your current location).mkdir [new_folder_name]: Make a new directory.rm [file_name]: Remove (delete) a file. Userm -r [folder_name]to remove a folder and its contents.nano [file_name]: Open a simple text editor.startx: If you're using a Lite OS and want to start the desktop environment (if installed).sudo poweroff: Safely shut down your Pi.
You've successfully set up your Raspberry Pi! You're now ready to dive into programming, hardware projects, and the vast world of DIY electronics.