Add vision to your Raspberry Pi projects! This tutorial shows you how to connect and use the official Raspberry Pi Camera Module to capture photos, record videos, and even stream live footage. This is essential for surveillance systems, robotics, and computer vision applications.
What You'll Need:
- Raspberry Pi board (any model with a CSI camera connector, which is most of them!)
- Raspberry Pi Camera Module (V1, V2, or High Quality Camera). The ribbon cable usually comes with the camera.
- Latest Raspberry Pi OS installed and updated on your Pi.
Step 1: Connect the Camera Module to Your Pi
This is a delicate but straightforward step. Ensure your Raspberry Pi is powered off before you begin.
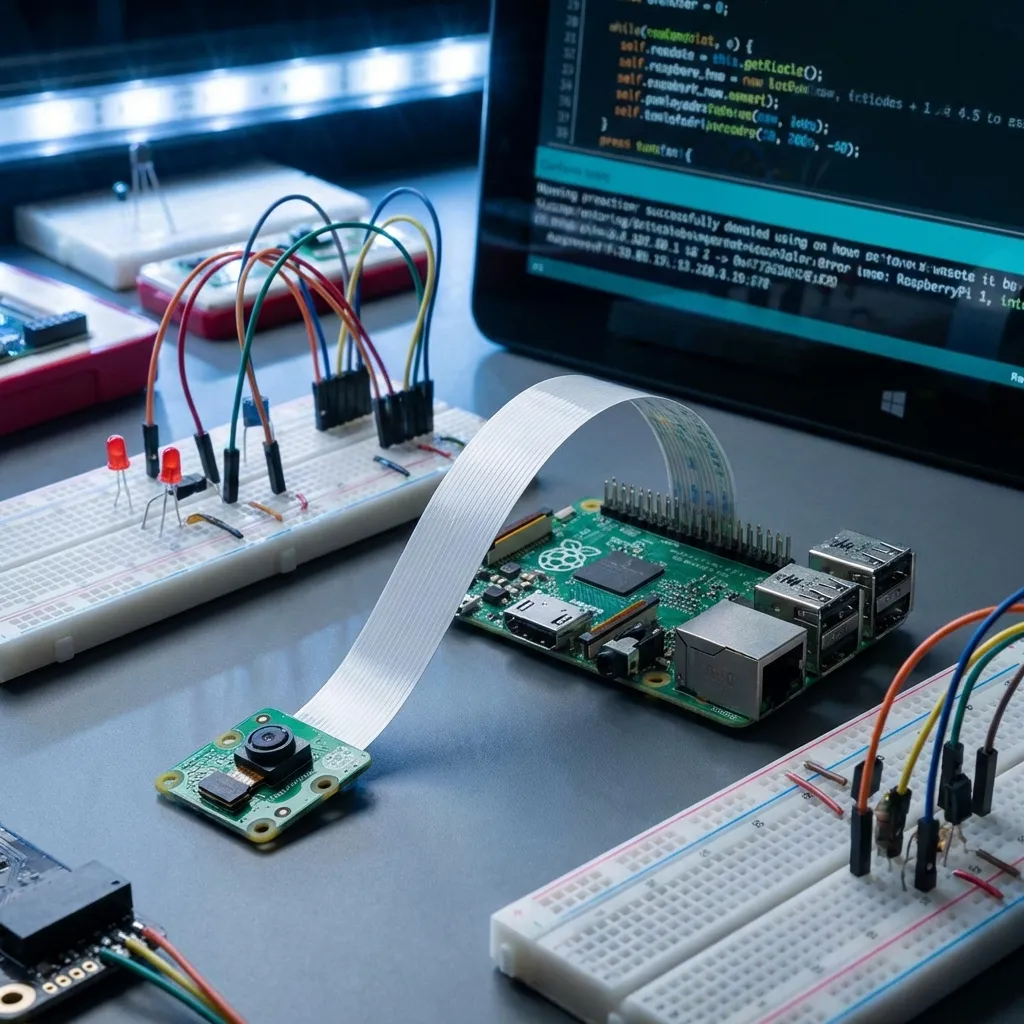
- Locate the CSI (Camera Serial Interface) camera port on your Pi. It's a long, white or black connector, usually near the HDMI ports.
- Gently pull up on the small plastic clips/edges on both sides of the connector. Do not pull too hard, just enough to release the clasp.
- Carefully insert the ribbon cable from the camera module into the connector. Ensure the silver metallic contacts on the ribbon cable are facing the HDMI port side (for Raspberry Pi 4/5) or away from the Ethernet port (for older Pis like Pi 3/2). Make sure it's straight and fully inserted.
- Once inserted, gently push the plastic clips back down to secure the cable firmly in place.
Step 2: Enable the Camera Interface in Raspberry Pi OS
The camera interface is usually disabled by default for security and resource management.
- Power on your Raspberry Pi.
- Open a terminal (Ctrl+Alt+T or click the terminal icon).
- Run the Raspberry Pi configuration tool:
sudo raspi-config - In the
raspi-configmenu, navigate using arrow keys:- Select "3 Interface Options"
- Select "P1 Camera"
- Select "Yes" to enable the camera interface.
- Exit
raspi-config(Tab to<Finish>, Enter). You'll likely be prompted to reboot your Pi. Select "Yes" to reboot.
Step 3: Capturing Images and Video
After rebooting, your camera should be ready! Newer versions of Raspberry Pi OS (Bullseye and
later) use libcamera tools. Older versions used raspistill and
raspivid.
For libcamera tools (Recommended for newer OS - Raspberry Pi OS Bullseye or later):
These commands are run in the terminal.
- Capture a still image:
libcamera-still -o my_first_image.jpgThis will capture an image and save it as
my_first_image.jpgin your current directory. - Record a video (e.g., 5 seconds long):
libcamera-vid -o my_first_video.h264 --t 5000The
--t 5000specifies the duration in milliseconds (5000ms = 5 seconds). The video will be saved asmy_first_video.h264. - View a live preview (without saving):
libcamera-preview
For raspistill/raspivid (Older OS - up to Raspberry Pi OS Buster):
- Capture a still image:
raspistill -o image.jpgCaptures an image and saves it.
- Record a video (e.g., 10 seconds long):
raspivid -o video.h264 -t 10000Records a video for 10 seconds.
The Raspberry Pi Camera Module opens up incredible possibilities for surveillance, time-lapse photography, security systems, and even basic computer vision projects! Have fun exploring its capabilities!