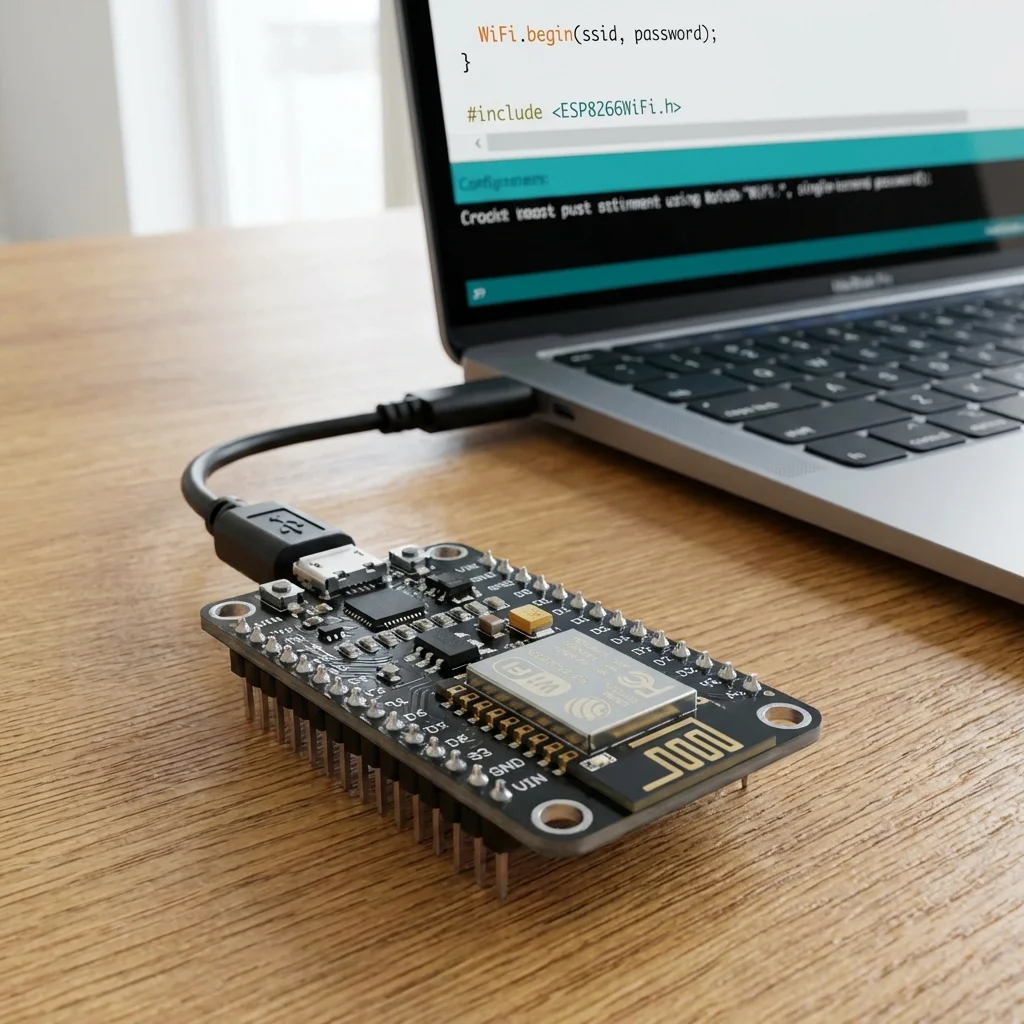
The NodeMCU is a low-cost open-source IoT platform. It initially included firmware which runs on the ESP8266 Wi-Fi SoC from Espressif Systems, and hardware which was based on the ESP-12 module. It's essentially an Arduino with built-in Wi-Fi!
Why NodeMCU?
- Built-in Wi-Fi: Perfect for IoT projects without needing extra shields.
- Arduino Compatible: You can program it using the familiar Arduino IDE.
- Low Cost: Very affordable compared to official Arduino boards with Wi-Fi shields.
Setting up Arduino IDE for NodeMCU:
- Open Arduino IDE, go to File > Preferences.
- In "Additional Boards Manager URLs", enter:
http://arduino.esp8266.com/stable/package_esp8266com_index.json - Go to Tools > Board > Boards Manager.
- Search for "esp8266" and install the board package by "ESP8266 Community".
- After installation, go to Tools > Board and select "NodeMCU 1.0 (ESP-12E Module)".
Your First Wi-Fi Sketch:
Let's scan for available Wi-Fi networks.
#include "ESP8266WiFi.h"

void setup() {
  Serial.begin(115200);

  // Set WiFi to station mode and disconnect from an AP if it was previously connected
  WiFi.mode(WIFI_STA);
  WiFi.disconnect();
  delay(100);

  Serial.println("Setup done");
}

void loop() {
  Serial.println("scan start");

  // Ethernet networks scan
  int n = WiFi.scanNetworks();
  Serial.println("scan done");
  if (n == 0) {
    Serial.println("no networks found");
  } else {
    Serial.print(n);
    Serial.println(" networks found");
    for (int i = 0; i < n; ++i) {
      // Print SSID and RSSI for each network found
      Serial.print(i + 1);
      Serial.print(": ");
      Serial.print(WiFi.SSID(i));
      Serial.print(" (");
      Serial.print(WiFi.RSSI(i));
      Serial.print(")");
      Serial.println((WiFi.encryptionType(i) == ENC_TYPE_NONE) ? " " : "*");
      delay(10);
    }
  }
  Serial.println("");

  // Wait a bit before scanning again
  delay(5000);
}
Upload this code (make sure to select the correct COM port) and open the Serial Monitor (set baud rate to 115200) to see the Wi-Fi networks around you!